Starting AWS Cloud9 IDE
AWS Cloud9 is a cloud-based integrated development environment (IDE) that lets you write, run, and debug your code with just a browser. It includes a code editor, debugger, and terminal. Cloud9 comes pre-packaged with essential tools for popular programming languages and the AWS Command Line Interface (CLI) pre-installed so you don’t need to install files or configure your laptop for this workshop.
Cloud9 works best with Chrome or Firefox, Not Safari. This workshop is not supported on a tablet.
From the AWS Management Console, Select Services > Cloud9 under Developer Tools
Go Click here for deeplink to Cloud9
-
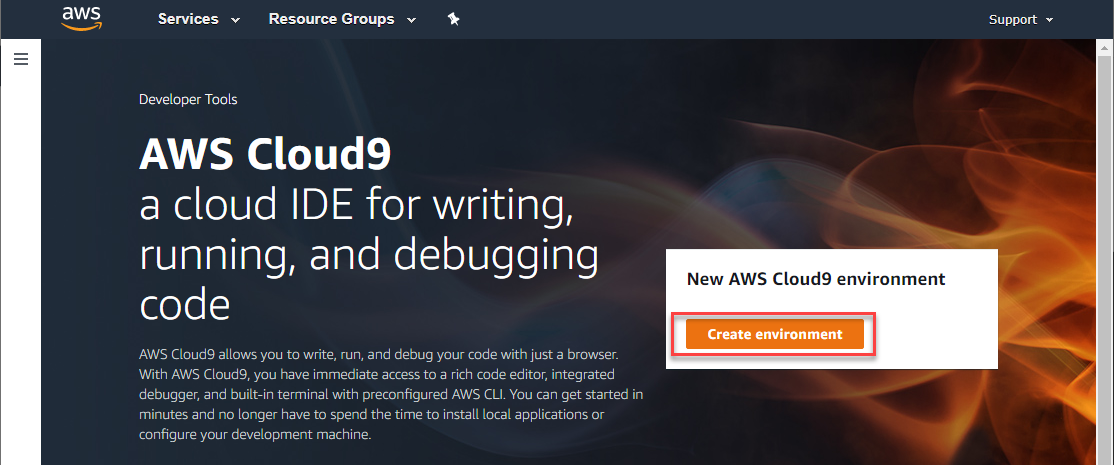
Select Create Environment.
-
Enter tf-workshop into Name and optionally provide a Description.
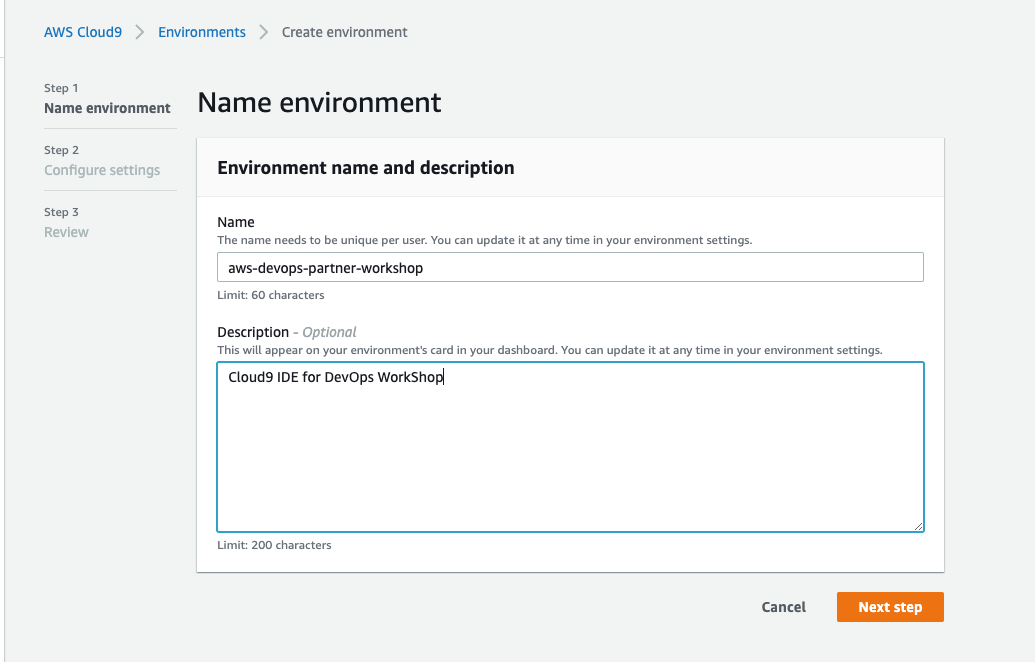
Select Next step.
c9 Launch settings:
-
Set the Instance type to t2.micro (1 GiB RAM + 1 vCPU).
-
Leave all other defaults unchanged.
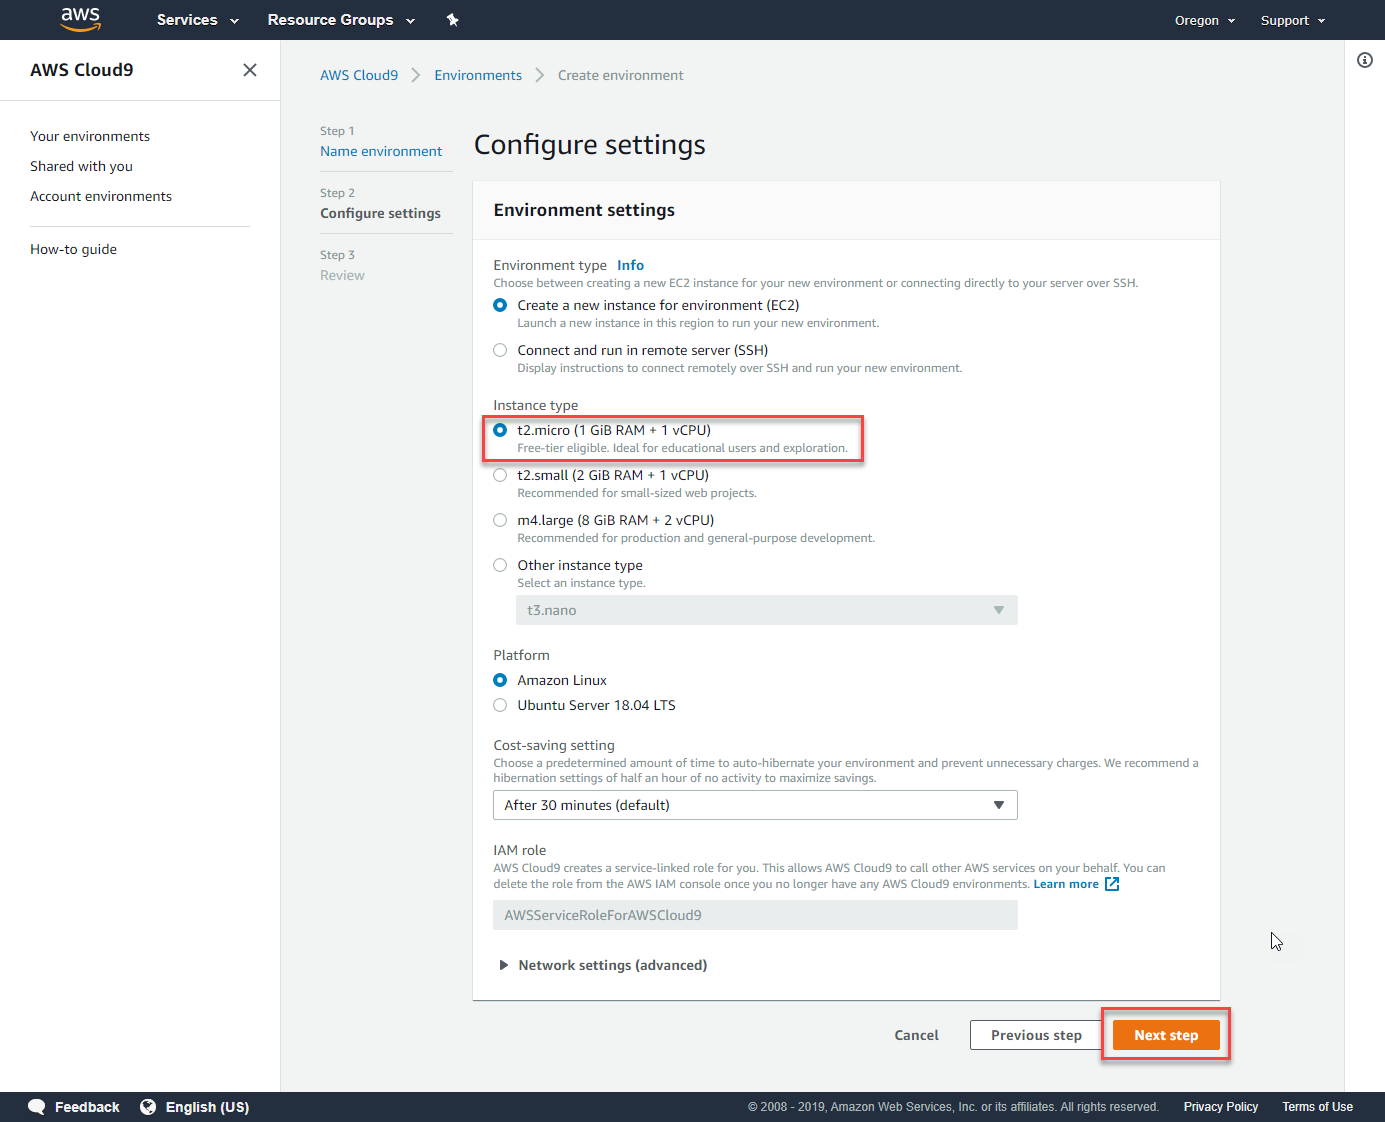
Select Next step
Review the environment settings and select Create environment.
It will take a couple of minutes for your Cloud9 environment to be provisioned and prepared.
c9 Environment settings:
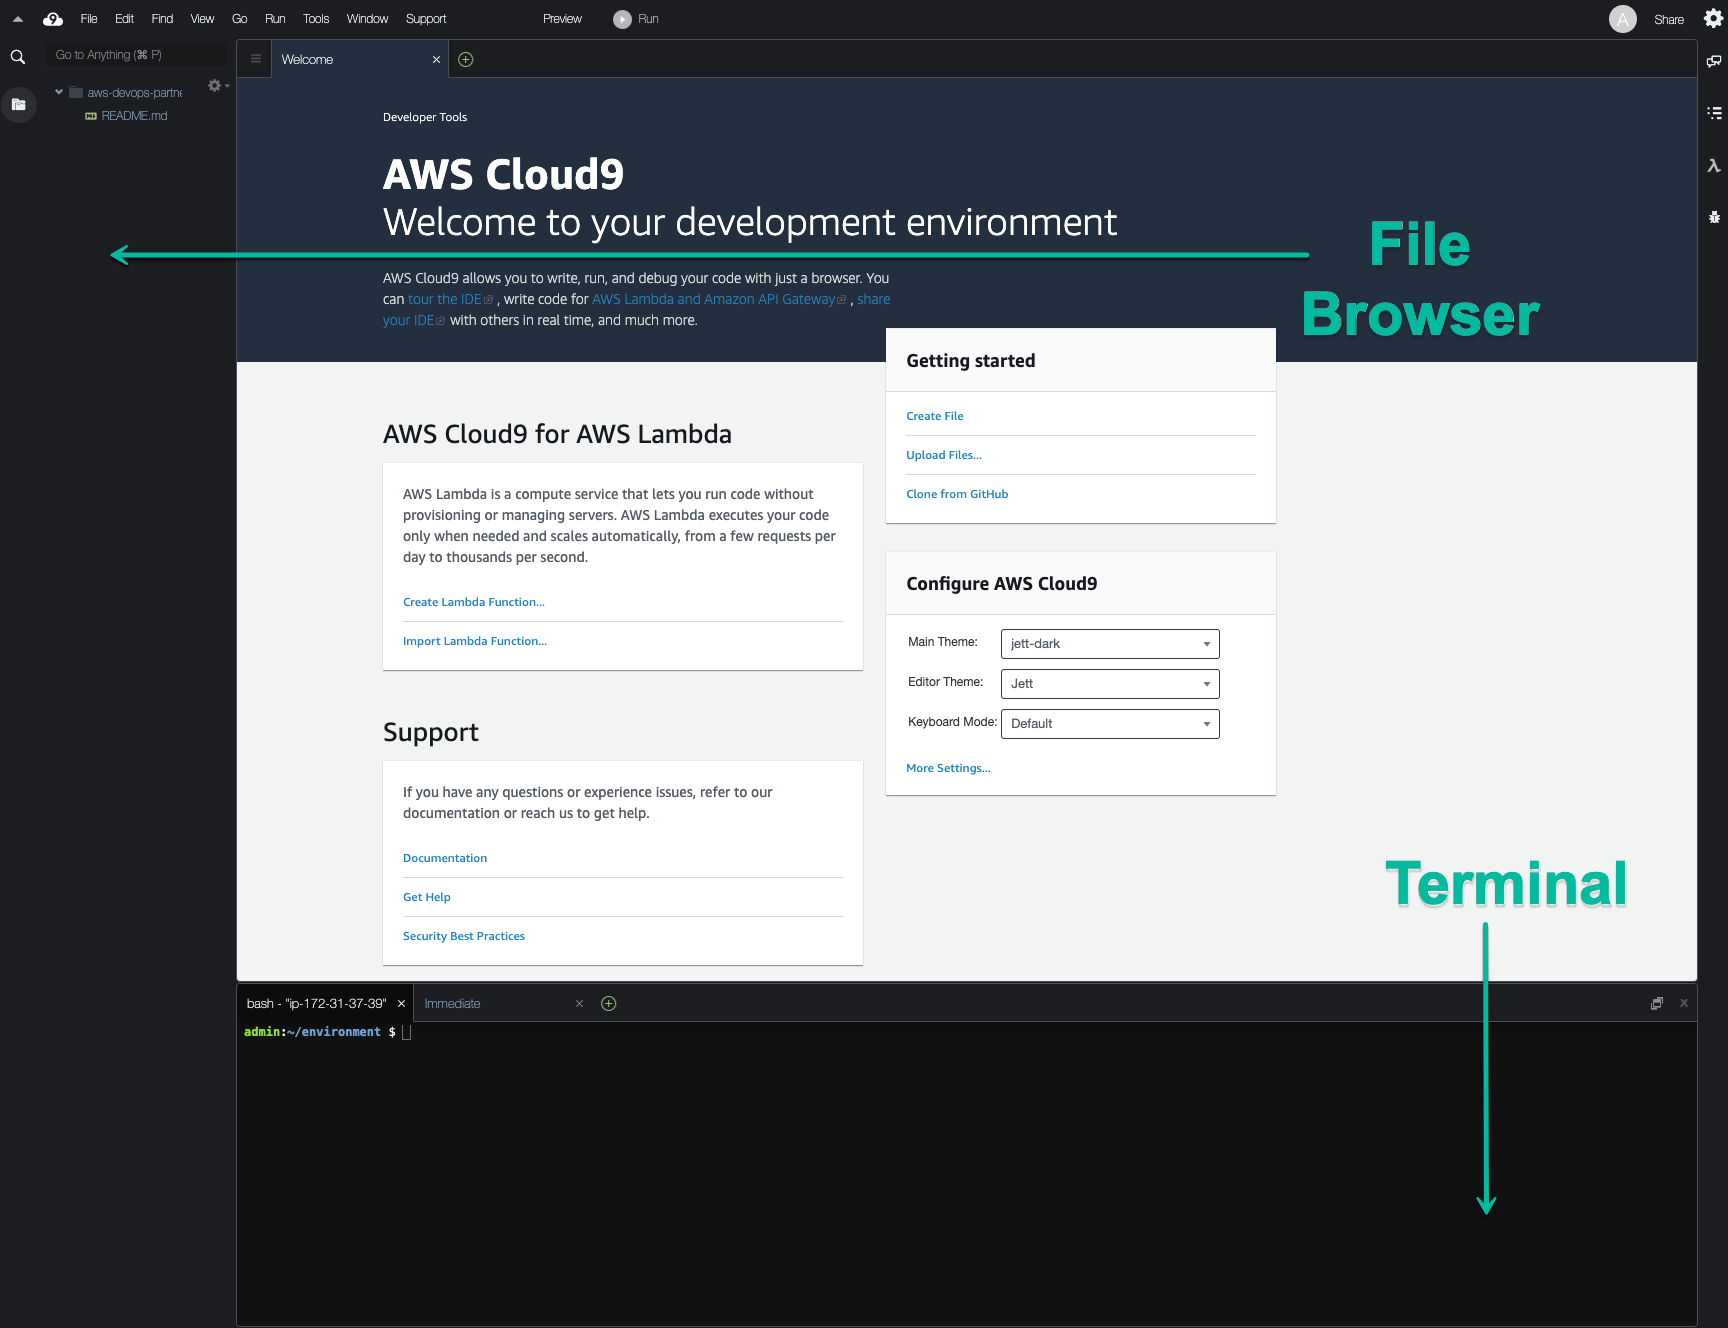
- Once ready, your IDE will open to a welcome screen. Below that, you should see a terminal prompt. Close the Welcome tab and drag up the terminal window to give yourself more space to work in.
Configure AWS credentials for your Cloud9 Workspace
Click on the Cloud9 logo in the top left corner
- Choose Preferences
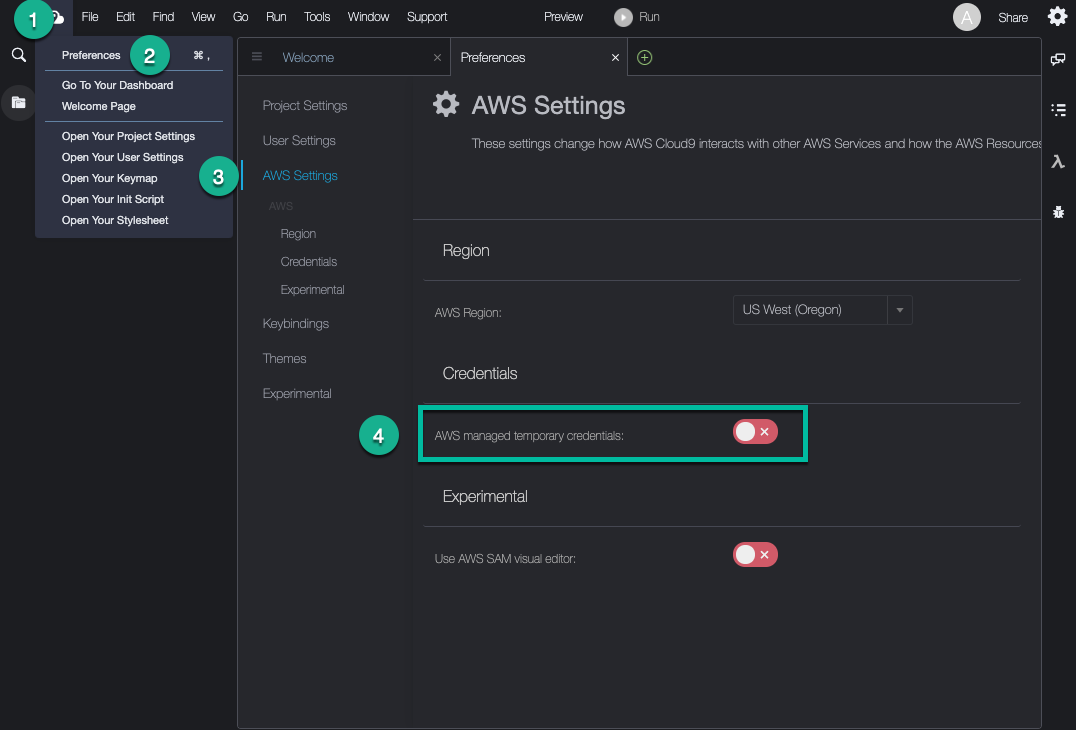
- In the Preferences tab go to AWS Settings
- Turn off AWS managed temporary credentials
- Close the Preferences tab
To ensure temporary credentials aren’t already in place we will also remove any existing credentials file:
rm -vf ${HOME}/.aws/credentials