Getting Started
This getting started guide will walk you through setting up a new CDK project which leverages the eks-blueprints NPM module to deploy a simple Blueprints.
Project Setup
Before proceeding, make sure AWS CLI is installed on your machine.
To use the eks-blueprints module, you must have Node.js and npm installed. We will also use make to simplify build and other common actions. You can do it using the following instructions:
brew install make
brew install node
sudo apt install make
sudo apt install nodejs
Create a directory that represents you project (e.g. my-blueprints) and then create a new typescript CDK project in that directory.
npm install -g n # may require sudo
n stable # may require sudo
npm install -g aws-cdk@2.133.0 # may require sudo (Ubuntu) depending on configuration
cdk --version # must produce 2.133.0
mkdir my-blueprints
cd my-blueprints
cdk init app --language typescript
Configure Your Project
Install the eks-blueprints NPM package (keep reading if you get an error or warning message):
npm i @aws-quickstart/eks-blueprints
CDK version of the EKS Blueprints is pinned as peerDependencies to the version that we tested against to minimize the risk of incompatibilities and/or broken functionality. When running the install command, NPM will detect any mismatch in the version and issue an error. For example:
npm ERR! code ERESOLVE
npm ERR! ERESOLVE unable to resolve dependency tree
npm ERR!
npm ERR! While resolving: my-blueprint@0.1.0
npm ERR! Found: aws-cdk-lib@2.130.0
npm ERR! node_modules/aws-cdk-lib
npm ERR!   aws-cdk-lib@"2.130.0" from the root project
npm ERR!
npm ERR! Could not resolve dependency:
npm ERR! peer bundled aws-cdk-lib@"2.133.0" from @aws-quickstart/eks-blueprints@1.14.0
npm ERR! node_modules/@aws-quickstart/eks-blueprint
This message means that the version of CDK that the customer is using is different from the version of CDK used in EKS Blueprints. Locate the line peer bundled and check the expected version of the CDK. Make sure that in your package.json the version is set to the expected. In this example, package.json contained "aws-cdk-lib": "2.130.0", while the expected version was 2.133.0.
Note: after the initial installation, upgrading the version of CDK to an incompatible higher/lower version will produce a warning, but will succeed. For community support (submitting GitHub issues) please make sure you have a matching version configured.
Example warning:
npm WARN
npm WARN Could not resolve dependency:
npm WARN peer bundled aws-cdk-lib@"2.133.0" from @aws-quickstart/eks-blueprints@1.14.0
Deploy EKS Clusters
Replace the contents of bin/<your-main-file>.ts (where your-main-file by default is the name of the root project directory) with the following code. This code will deploy a new EKS Cluster and install a number of addons.
import * as cdk from 'aws-cdk-lib';
import * as blueprints from '@aws-quickstart/eks-blueprints';

const app = new cdk.App();
const account = 'XXXXXXXXXXXXX';
const region = 'us-east-2';
const version = 'auto';

blueprints.HelmAddOn.validateHelmVersions = true; // optional if you would like to check for newer versions

const addOns: Array<blueprints.ClusterAddOn> = [
    new blueprints.addons.ArgoCDAddOn(),
    new blueprints.addons.CalicoOperatorAddOn(),
    new blueprints.addons.MetricsServerAddOn(),
    new blueprints.addons.ClusterAutoScalerAddOn(),
    new blueprints.addons.AwsLoadBalancerControllerAddOn(),
    new blueprints.addons.VpcCniAddOn(),
    new blueprints.addons.CoreDnsAddOn(),
    new blueprints.addons.KubeProxyAddOn()
];

const stack = blueprints.EksBlueprint.builder()
    .account(account)
    .region(region)
    .version(version)
    .addOns(...addOns)
    .useDefaultSecretEncryption(true) // set to false to turn secret encryption off (non-production/demo cases)
    .build(app, 'eks-blueprint');
Each combination of target account and region must be bootstrapped prior to deploying stacks. Bootstrapping is a process of creating IAM roles and lambda functions that can execute some of the common CDK constructs.
For application of the EKS Blueprints Framework with AWS Organizations, Multi-account framework and Control Tower consider a process to automatically or manually CDK-bootstrapping new (workload/environment) accounts when they are added to the organization. More info on account bootstrapping here.
Bootstrap your environment with the following command.
cdk bootstrap aws://<your-account-number>/<region-to-bootstrap>
Note: if the account/region combination used in the code example above is different from the initial combination used with cdk bootstrap, you will need to perform cdk bootstrap again to avoid error.
Please reference CDK usage doc for detail.
Deploy the stack using the following command. This command will take roughly 20 minutes to complete.
cdk deploy
Congratulations! You have deployed your first EKS cluster with eks-blueprints. The above code will provision the following:
- A new Well-Architected VPC with both Public and Private subnets.
- A new Well-Architected EKS cluster in the region and account you specify.
- Nginx into your cluster to serve as a reverse proxy for your workloads.
- ArgoCD into your cluster to support GitOps deployments.
- Calico into your cluster to support Network policies.
- Metrics Server into your cluster to support metrics collection.
- AWS and Kubernetes resources needed to support Cluster Autoscaler.
- AWS and Kubernetes resources needed to forward logs and metrics to Container Insights.
- AWS and Kubernetes resources needed to support AWS Load Balancer Controller.
- Amazon VPC CNI add-on (VpcCni) into your cluster to support native VPC networking for Amazon EKS.
- CoreDNS Amazon EKS add-on (CoreDns) into your cluster. CoreDns is a flexible, extensible DNS server that can serve as the Kubernetes cluster DNS
- kube-proxy Amazon EKS add-on (KubeProxy) into your cluster to maintains network rules on each Amazon EC2 node
- AWS and Kubernetes resources needed to support AWS X-Ray.
Cluster Access
Once the deploy completes, you will see output in your terminal window similar to the following:
Outputs:
east-test-1.easttest1ClusterName8D8E5E5E = east-test-1
east-test-1.easttest1ConfigCommand25ABB520 = aws eks update-kubeconfig --name east-test-1 --region us-east-1 --role-arn <ROLE_ARN>
east-test-1.easttest1GetTokenCommand337FE3DD = aws eks get-token --cluster-name east-test-1 --region us-east-1 --role-arn <ROLE_ARN>

Stack ARN:
arn:aws:cloudformation:us-east-1:115717706081:stack/east-test-1/e1b9e6a0-d5f6-11eb-8498-0a374cd00e27
To update your Kubernetes config for you new cluster, copy and run the east-test-1.easttest1ConfigCommand25ABB520 command (the second command) in your terminal.
aws eks update-kubeconfig --name east-test-1 --region us-east-1 --role-arn <ROLE_ARN>
Validate that you now have kubectl access to your cluster via the following:
kubectl get namespace
You should see output that lists all namespaces in your cluster.
Deploy workloads with ArgoCD
Next, let's walk you through how to deploy workloads to your cluster with ArgoCD. This approach leverages the App of Apps pattern to deploy multiple workloads across multiple namespaces. The sample app of apps repository that we use in this getting started guide can be found here.
You can leverage Automatic Bootstrapping for automatic onboarding of workloads. This feature may be leveraged even when workload repositories are not ready yet, as it creates a placeholder for future workloads and decouples workload onboarding for the infrastructure provisioning pipeline. The next steps, described in this guide apply for cases when customer prefer to bootstrap their workloads manually through ArgoCD UI console.
Install ArgoCD CLI
These steps are needed for manual workload onboarding. For automatic bootstrapping please refer to the Automatic Bootstrapping.
Follow the instructions found here as it will include instructions for your specific OS. You can test that the ArgoCD CLI was installed correctly using the following:
argocd version --short --client
You should see output similar to the following:
argocd: v2.0.1+33eaf11.dirty
Exposing ArgoCD
To access ArgoCD running in your Kubernetes cluster, we can leverage Kubernetes Port Forwarding. To do so, first capture the ArgoCD service name in an environment variable.
export ARGO_SERVER=$(kubectl get svc -n argocd -l app.kubernetes.io/name=argocd-server -o name)
Next, in a new terminal tab, expose the service locally.
kubectl port-forward $ARGO_SERVER -n argocd 8080:443
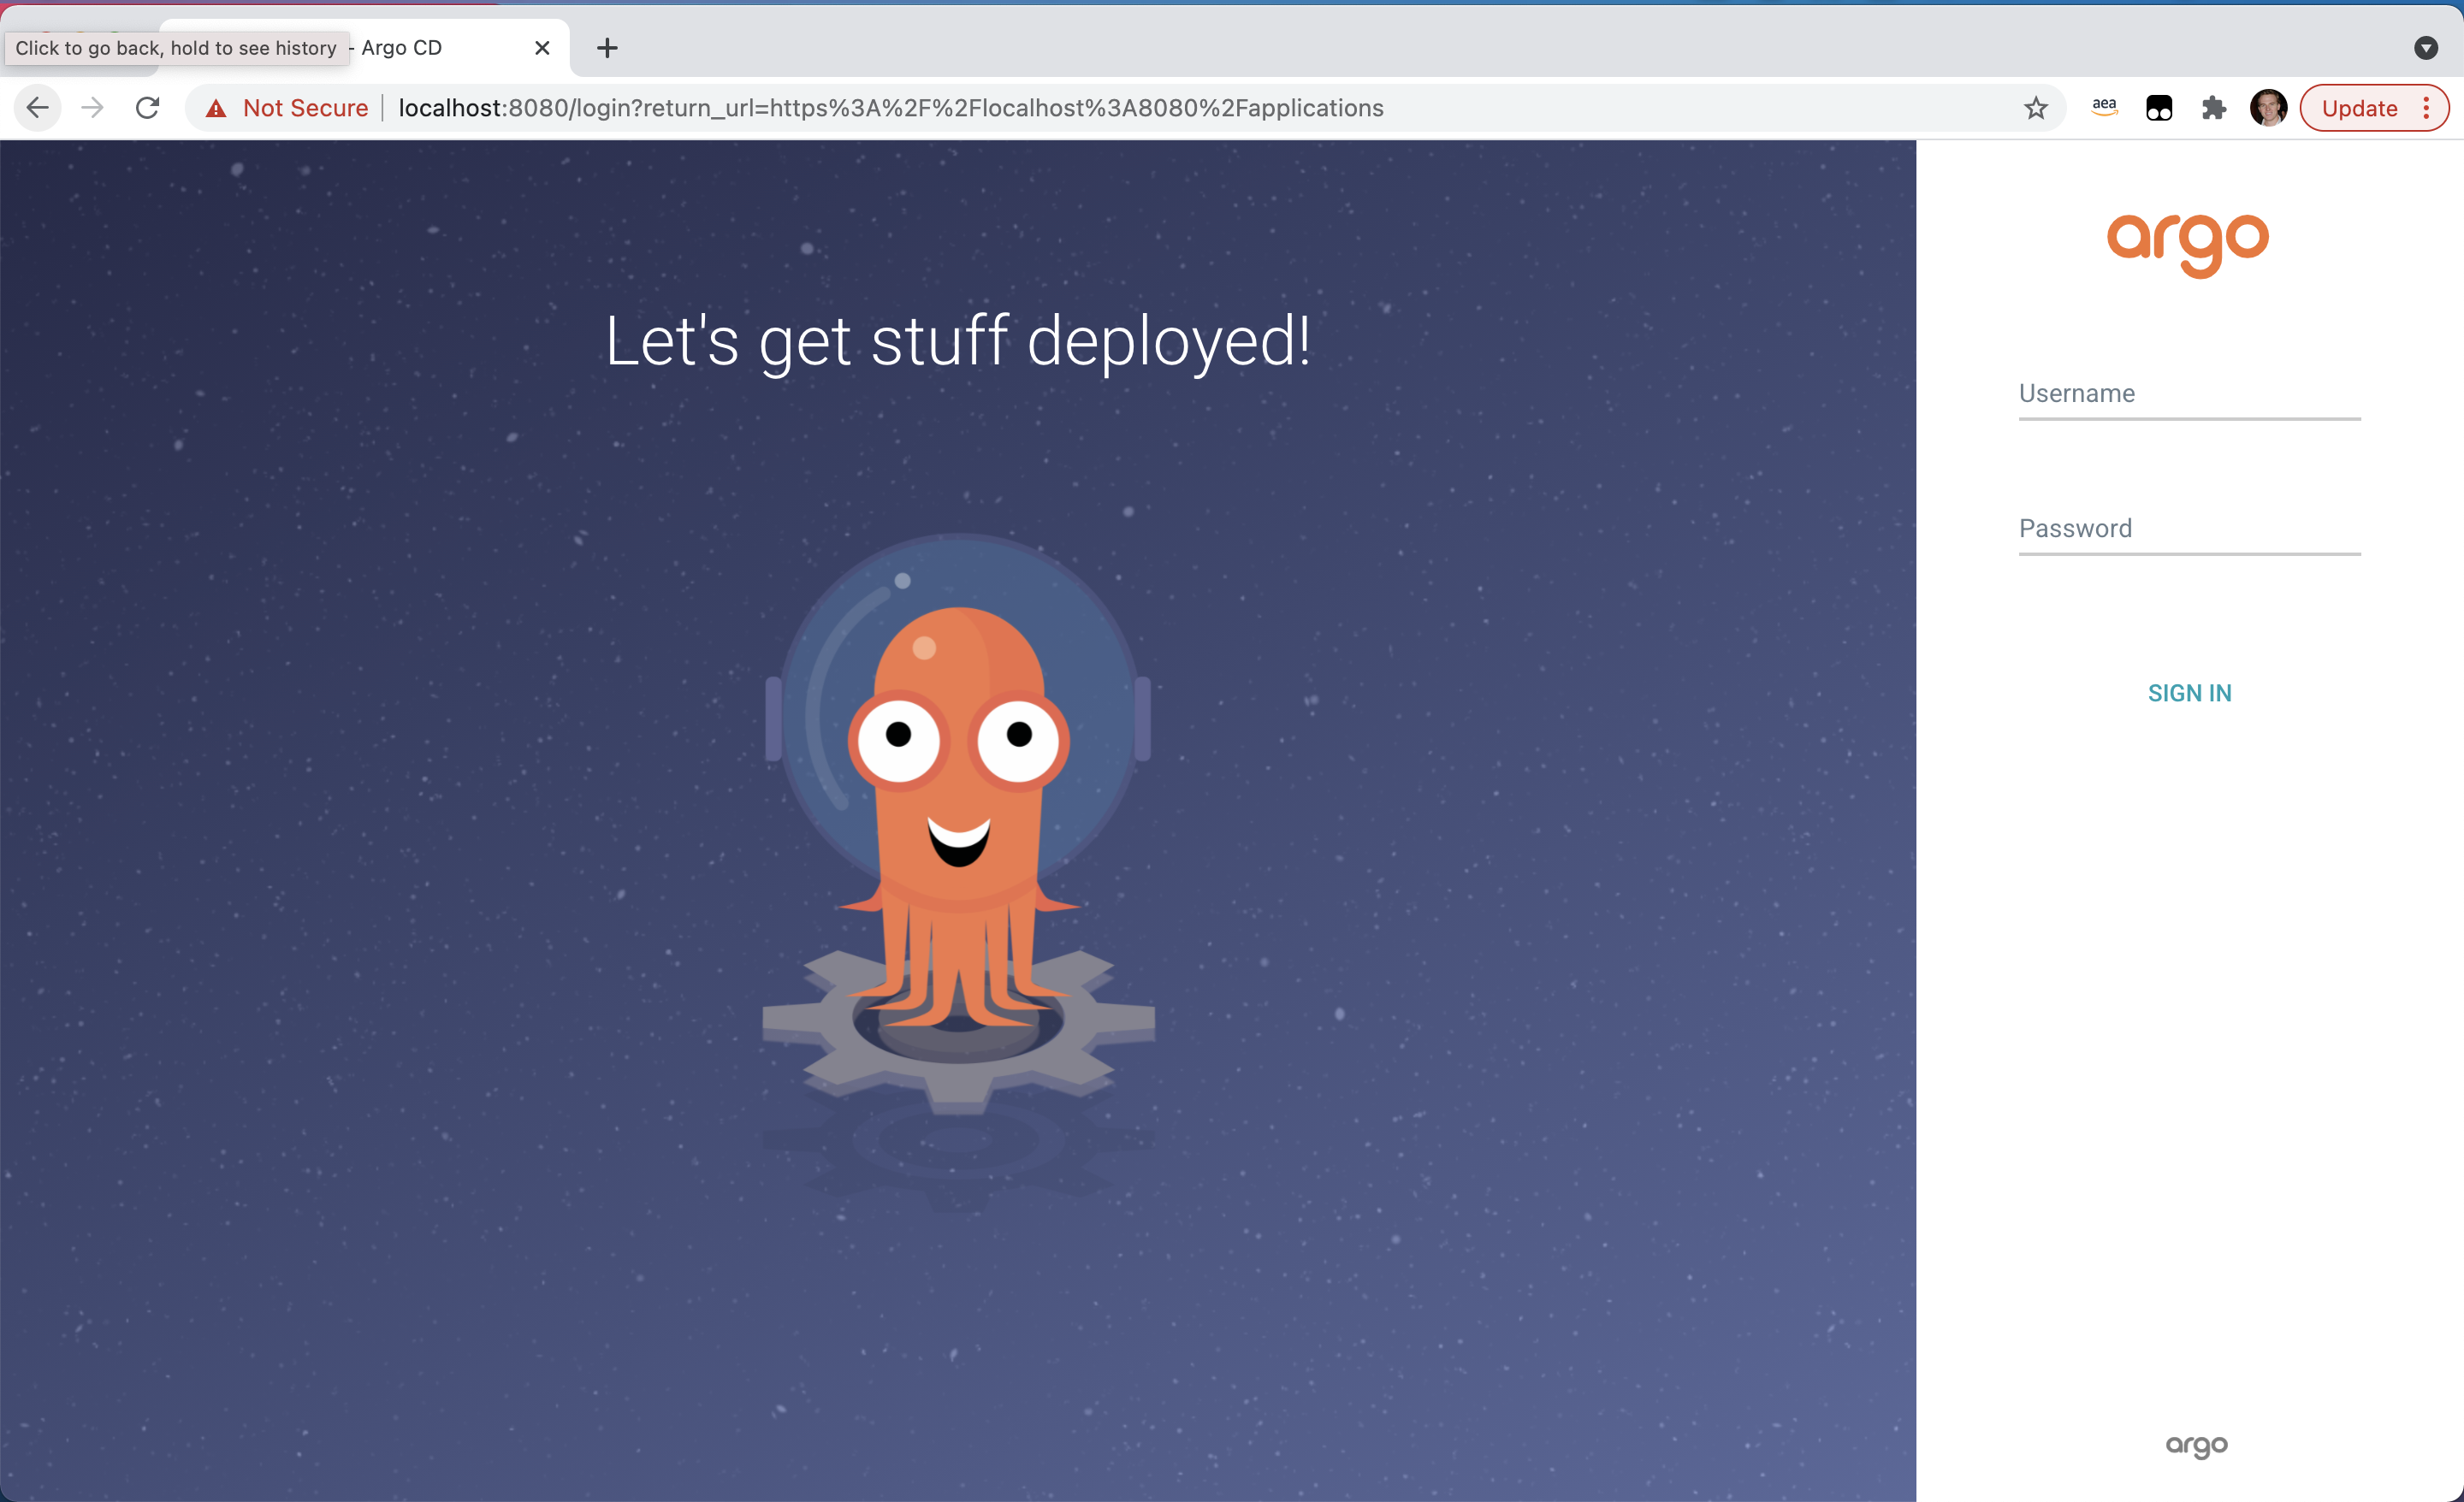
Open your browser to http://localhost:8080 and you should see the ArgoCD login screen.
Logging Into ArgoCD
ArgoCD will create an admin user and password on a fresh install. To get the ArgoCD admin password, run the following.
export ARGO_PASSWORD=$(kubectl -n argocd get secret argocd-initial-admin-secret -o jsonpath="{.data.password}" | base64 -d)
While still port-forwarding, login via the following.
argocd login localhost:8080 --username admin --password $ARGO_PASSWORD
You can also login to the ArgoCD UI with generated password and the username admin.
echo $ARGO_PASSWORD
Deploy workloads to your cluster
Create a project in Argo by running the following command
argocd proj create sample \
    -d https://kubernetes.default.svc,argocd \
    -s https://github.com/aws-samples/eks-blueprints-workloads.git
Create the application within Argo by running the following command
argocd app create dev-apps \
    --dest-namespace argocd  \
    --dest-server https://kubernetes.default.svc  \
    --repo https://github.com/aws-samples/eks-blueprints-workloads.git \
    --path "envs/dev"
Sync the apps by running the following command
argocd app sync dev-apps
Validate deployments.
To validate your deployments, leverage kubectl port-forwarding to access the guestbook-ui service for team-riker.
kubectl port-forward svc/guestbook-ui -n team-riker 4040:80
Open up localhost:4040 in your browser and you should see the application.
Next Steps
For information on onboarding teams to your clusters, see Team documentation.
For information on deploying Continuous Delivery pipelines for your infrastructure, see Pipelines documentation.
For information on supported add-ons, see Add-on documentation
For information on Onboarding and managing workloads in your clusters, see Workload documentation.